SKU: 50712724256
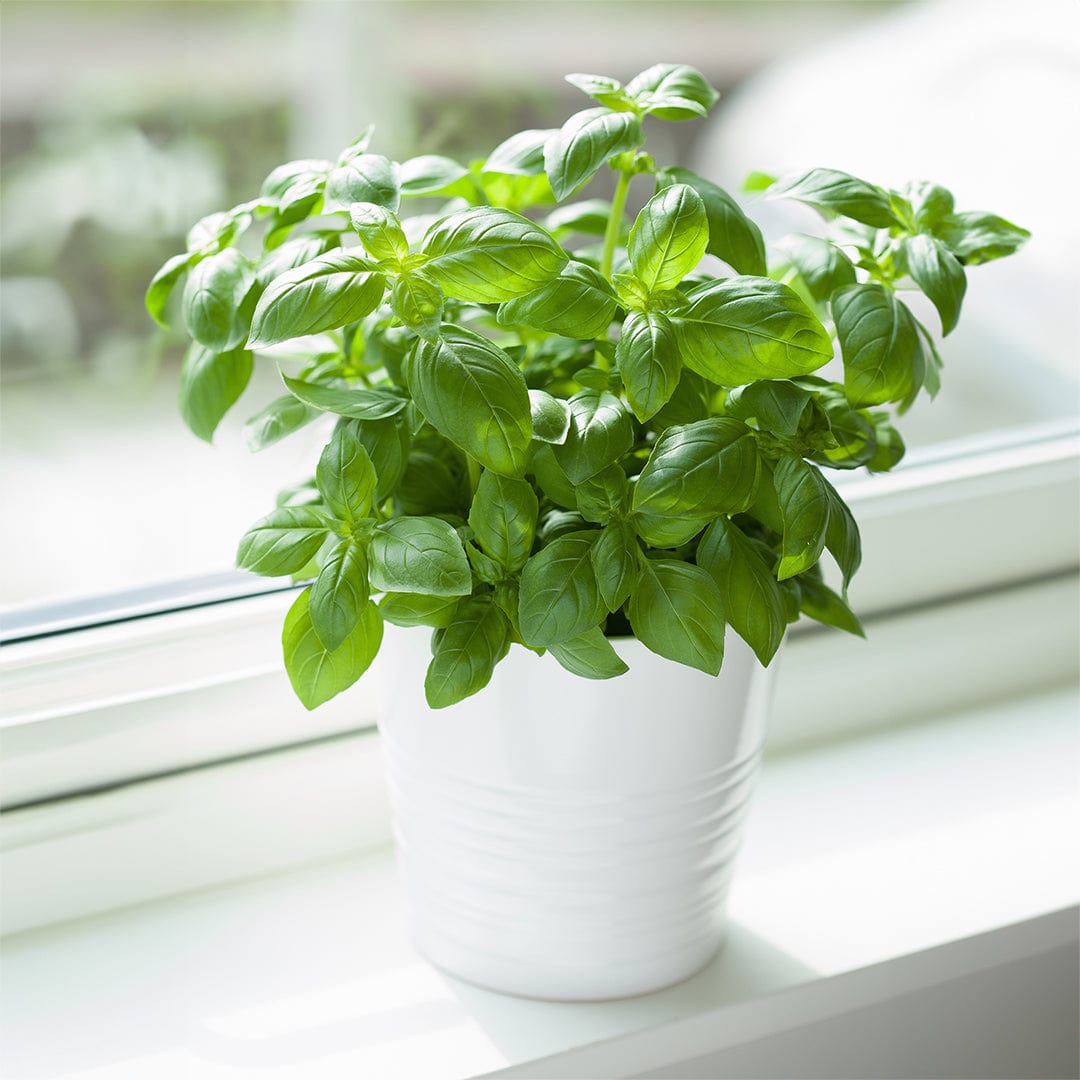
basil potted plant

basil potted plant Back to the Roots Seed Packet Basil Genovese

Sale price$23.14 Regular price$25.71
Save 10%

Pay in installments of $6.43 with ShopPay, AfterPay and Klarna

Shipping Estimate
USA
  • USA
  • CAN

Ships within 48 hours · Estimated delivery Jul 19 - Jul 24

Promo Codes Available:

For Your Every Summer RSVP, with Code: SUMMER15

Description

basil potted plant Back to the Roots Seed Packet Basil GenoveseOverview Basil is a warm weather herb grown for its aromatic leaves. Often used as a garnish, it adds delicious flavors to dishes. Basil is a source of Vitamins A, C, and K. Conditions For soil, use a potting mix thats tailored for vegetables and herbs. Basil thrives in warm temperatures, optimum being 7085F. For the best quality leaves, provide basil with full sun (6 or more hours of direct sunlight) and consistent moisture (dont let the topsoil

Overview

Basil is a warm-weather herb grown for its aromatic leaves. Often used as a garnish, it adds delicious flavors to dishes. Basil is a source of Vitamins A, C, and K.

Conditions

For soil, use a potting mix that’s tailored for vegetables and herbs. Basil thrives in warm temperatures, optimum being 70–85°F. For the best quality leaves, provide basil with full sun (6 or more hours of direct sunlight) and consistent moisture (don’t let the topsoil become dry to the touch).

Planting

Because basil prefers warm growing temperatures, it’s recommended to plant seeds outdoors when the ground is warm. Use our grow calendar tool to find specific dates for your region! Seeds germinate in 5–10 days. Basil can be planted outdoors directly or started indoors then transplanted:

Plant seed outdoors (recommended): Plant seeds 1/4" deep, 2-3 seeds per inch. Firm the soil over the seeds. Thinning is not necessary, but a final spacing of 4-8" apart produces healthy, full plants.

Transplant: Plant seeds indoors in starter pots 6 weeks prior to transplanting outdoors. Plant 1/4" deep and keep at 70°F (21°C) for best germination. Transplant outdoors when seedlings have 3-4 sets of leaves, spacing at 4-8" apart.

Care

After the seedlings have produced their first six leaves, prune (removing a part of a plant to encourage growth) or cut the stem above the second set. This encourages the plants to start branching, resulting in more leaves for harvest. Every time a branch has six to eight leaves, repeat pruning the branches back to their first set of leaves. After about 6 weeks, pinch off the center shoot to prevent early flowering. If flowers do grow, just cut them off. 

Pests and Disease

Basil is not as afflicted with pests and disease as other plants, but it is prone to nutrient deficiencies. There are three reasons why basil yellows: too much water, too little sun, and/or not enough nutrients. If basil leaves are yellowing, temporarily stop watering, move the plant to a sunnier location, and feed it with a balanced organic fertilizer.

Harvest

Begin light harvesting after plants have become established at 6-8” tall. Harvest in the early morning, when leaves are at their juiciest. A full harvest should be completed just before the plants start to flower. Leaves are easily bruised when picking, so handle carefully. The best method for storing basil is freezing in an airtight, resealable plastic bag. Freezing will prevent the plant from losing a good portion of its flavor.

Shipping Notes
  • Free Standard Shipping on $100+ Orders to the USA.
  • Except Preorder products are shipped in 48 hours.
  • Delivery to the USA:
  1. Standard Shipping : 3-10 business days
  • If time is of the essence, please consider selecting expedited delivery for faster service.
Exchange/Return Notes
  • We offer a 30-day return/exchange service after receiving.
  • Final sale items are not eligible for returns or exchanges.
  • To process your return/exchange, please contact us at [email protected]
  • Please click here for more details>>> Return & Exchange Policy
SKU: 50712724256

Discover Niche Categories That Outsell basil potted plant

Top-Converting Item to Boost Your Average Order

4.8 ★★★★★
Based on 8 reviews
Sort
Highest Rating
Newest First
Oldest First
Product Reviews
J
Verified Purchase
JBDoge
Fort Morgan, US
★★★★★ 5
Wish they came with instructions...
They are cheap and work great. They plug right into my Pioneer vsx521 receiver and my Paradigm Atom monitor speakers. I wish they came with instructions, because it took me about 10 minutes to realize the bottom part unscrews in addition to the top part. Here are my instructions for installation: 1) Unscrew the bottom part of this connector (the thin metal underneath the red/black ring). 2) Make sure the Banana Plug (which may be loosely screwed into the top part of the connector) is fully tightened down 3) Strip your wire tips to 3/8 of an inch (or just slightly under) 4) Run the first newly stripped wire end through the bottom part you removed in step 1, such that the stripped end of the wire is entering through the flat end and exiting through the smaller threaded end. 5) Leave about 1/8 to 3/16 of an inch of stripped wire hanging past the exit hole. 6) As evenly spaced as possible, bend the over-hanging wire strands over the exit hole (all around it, like a hat). If done properly, the wire should not fall out if you give it a VERY GENTLE tug. 7) Screw the top metal part (with the actual banana plug) back onto the bottom part. It may be difficult if your stripped wire is hanging too low. I've used a pair of pliers to grip the bottom part of the connector while I twist the banana plug side with my hand. If done correctly, you should be able to put a lot of tension between the wire and connector without removing/damaging it. UPDATE: I just recently helped my dad install his 5.1 system without these... it sucked... This item (5 pairs of them in this case) and a good wire stripper can save you alot of pain (both physical and mental). The connectors on the back of his receiver are the kind where bare wire comes in from the side and then the connectors screw down (with a banana plug hole in the center which is where this product would come into play). I felt like a surgeon trying to get a bare wire end into the little slot, and then holding it there while I tighten the connector which is almost impossible since they are so close together... GET THESE!
WAS THIS REVIEW HELPFUL?YesReportShare
Reviewed in the United States on February 8, 2012
R
Verified Purchase
R. Jackson
Battle Creek, US
★★★★★ 1
'Monoprice' = Worst stereo banana plugs on T-H-E market.
Size: 5 Pack, Pattern Name: Banana Plugs
The absolute WORST in stereo banana plugs - HANDS DOWN. After installing stereos and components for over 30 years, I'd say I'm experienced. These banana plugs fail at EVERY part of the design. Allow me to explain... 1) Starting with the tips, they are loose off the bat and fit LOOSELY in either the stereo input studs or speaker input studs by their 'girth'. They do not firmly seat in any plug and for this setup, I'm using a nearly $2K setup all together. They 'rock' back and forth (when inserted) and thus create a non-permanent connection, again, seriously making these utter junk. I've seen some items you can get by with over the years, but these aren't even rock bottom. They are unusable! 2) Next, the banana plugs themselves comes as three pieces. No non loosening o-ring seal but a plastic colored want-to-be imitation for positive and negative notation. Why do these stupid things come in three pieces? - I simply can't tell you why. I do know they serve no specific piece to solving the puzzle of installation so why do they come in three pieces...? My speculation is they are cheap china knockoffs. 3) The 'way' in which you normally install the trimmed wiring internally with the 'two-piece' design permits you to firmly CRIMP and hold the unsheathed wiring; but these do not. The overlap/overlay of the exposed wiring can only be about 2/16's of an inch thus not much to create a proper connection with. This single fact eliminates these plugs as even worthwhile component add ons; period. If you can't achieve a good ground/wiring connection, these are a defeated purpose... 4) Because of the design of these, they have no room to crimp and screw on the cable so your forced to nearly break your fingers in an attempt to get the unsheathed wire to overlay the internal threading and twist them on with all your might. This in effect breaks nearly every wire thread internally and then they breaks off inside. Absolute garbage. These are total pieces of non-quality junk that did nothing but makes me waste 30 minutes on attempting to get them securely on and another 25 to locate my Amazon account, find this product in my order and ALARM anyone else from making the same mistake I made. Now, I find out I can't even get a return on these. Thanks Amazon. Thank you third party retailer. You just made me a very dissatisfied decade long customer.
WAS THIS REVIEW HELPFUL?YesReportShare
Reviewed in the United States on August 17, 2016
A
Verified Purchase
Amazon Customer
Pawtucket, US
★★★★★ 5
Nice quality
Had to return due to our mistake but the mechanic said it was good quality. Ordered the correct size and worked great.
WAS THIS REVIEW HELPFUL?YesReportShare
Reviewed in the United States on March 30, 2025
K
Verified Purchase
katelyn traut
Lowell, US
★★★★★ 5
Perfect fit
Worked great for a 1965 mercury thunderbolt 150hp
WAS THIS REVIEW HELPFUL?YesReportShare
Reviewed in the United States on June 3, 2025
L
Verified Purchase
Lawrence Brown
Lake Worth, US
★★★★★ 5
MerCruiser Replacement Parts
OEM quality MerCruiser Alpha 1 Gen1 replacement part. Everything you need and some things you don't because it's a universal kit that works for several models.
WAS THIS REVIEW HELPFUL?YesReportShare
Reviewed in the United States on July 19, 2025

recommand products